Showing posts with label how to. Show all posts

Tuesday, August 12, 2008

Moebius on 2 needles! (free pattern)

Here was my dilema: The longest needle I have is 40" and I needed to cram almost 300 stitches of a bulky-ish weight yarn on these needles. Um, not an easy task. I'm knitting along, not very happily when I think to myself, "Can't I just put this on 2 needles?" And sure enough, it works like a charm.


Basic Pattern for a Garter St Moebius Cowl:

1. Measure your gauge, knit a square using an appropriate sized needle at least 4" by 4" and using a ruler, count how many stitches you get in 4" and divide that number by 4. That is how many stitch you knit per 1". With my bulky yarn, I get 3.25 sts per inch.

2. Figure out how big you want your cowl to be using a tape measure. I want one that covers my shoulders easily and I'm pretty small so 40" will do well.

3. Multiple you cowl circumference (#2) by your gauge (#1). I get 3.25* 40= 130. This is the number you are going to cast on.

4. Using the Moebius Cast On Part 1 Part 2 cast on the number you get in #3 on just one needle. It might be crammed, but it just needs to this way for the cast on.

5. Place a marker to mark the beginning of the round. Take your second needle and knit 1/2 the stitches that you got in #3. Finish knitting the second half of the stitches with needle #1.

6. With needle #2, purl all the stitches from needle #2. With needle #1 knit all the stitches from needle #1.

7. Repeat 5 and 6 until the cowl is as wide as you would like it to be. Always knit using the end of the same needle that the stitches are on. Same needle to same needle. Be sure to leave about enough yarn to bind off (#2* 3 should be enough) and using the sewn bind off.


Yes, I do sense a video coming...

Thursday, April 10, 2008

Moebius Cast On, Take 2

My camera is back in action! It's hard to believe it is finally warm enough to tape outside without fear of getting frost bite.

I promised a new Moebius Cast On video and since it is probably my most viewed tutorial, I thought I better get that one done. So here it is, right handed and in better lighting.

Part 1:


Part 2:

Monday, January 28, 2008

Stretchy (sewn) Bind Off

Yes, I'm early with this one. We'll just pretend it's Tuesday.

This bind off is grrrrreat for toe up socks, neck bands, waist bands, top-down hats any place you need to stretch.


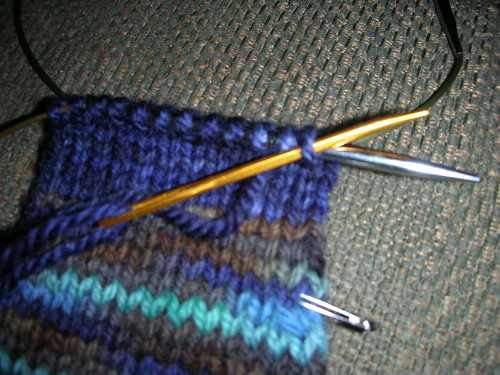
Our lovely Chibi needle on the end of the yarn. Measure out a length of yarn 4x's the width of the circumference of the item (just loosely drape the yarn around the piece 4 times). Better to have too much than too little and this is a very safe amount.


Insert the needle from right to left through 2 stitches and pull yarn through.


Going from left to right, go back through the first stitch.


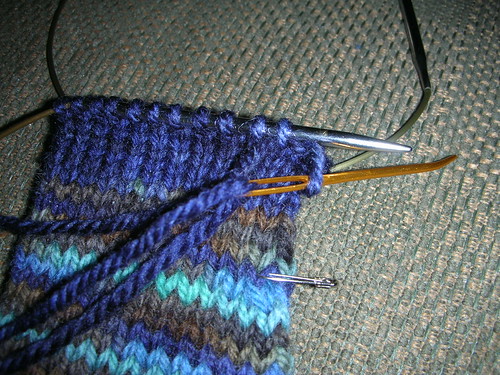
Pull the first stitch off the needle.

Repeat these steps until all the stitches have been sewn.

Voila, a stretchy bind off. FYI, this matches the twisted loop cast on nicely.